I have a drawer in my classroom that is just dead border rolls. Half-used, curled at the ends, one of them with a chunk missing because a second grader decided it was a bracelet. I kept buying the scalloped trim every August like it was a rule. Staple it on, watch it sag, buy more.
Then one year I ran out of the budget money before I ran out of boards, and I had to get clever. I printed a strip of letters instead. Taped them edge to edge across the top of the board, flat, no trim at all. It held longer than any border I ever stapled, and when I got tired of it I just printed a new strip. That was the year I stopped thinking the edge of a board needed a special roll from the teacher store.
So this is my running list of bulletin board border alternatives, the printable files I buy from indie design shops for a few dollars and tape up in my real room. Letters, clipart strips, themed kits, little crafts that double as a frame. Some are obvious. A couple are weird. All of them have hung on my wall longer than a roll of scalloped trim ever did.
A quick note, teacher to teacher: some links below are affiliate links. If you grab a file I may earn a little, at no extra cost to you.
Skip the border, frame the door instead
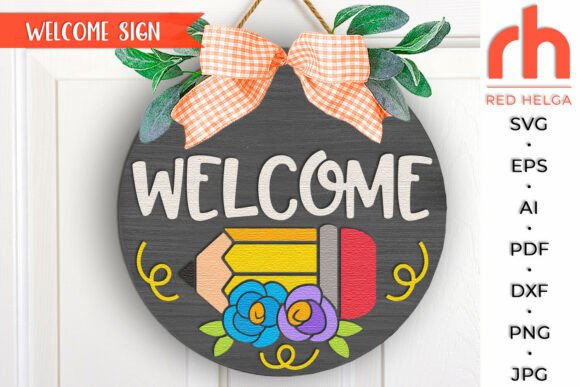
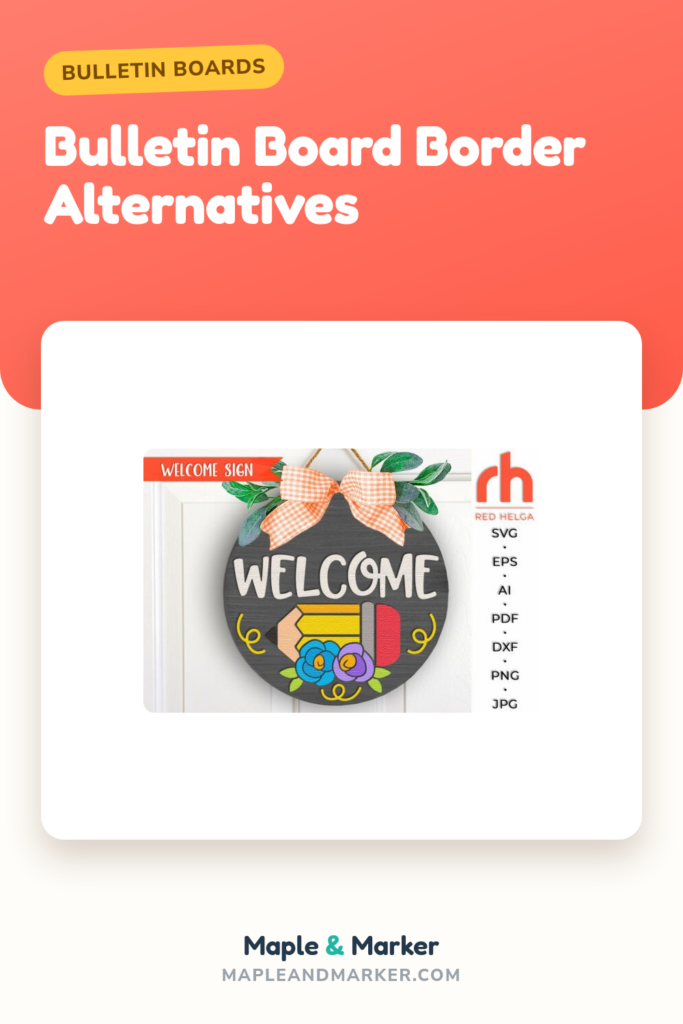
Here is a thing I figured out late. If the door is doing the welcoming, the board behind it can be quieter. This welcome door sign pulls the eye to the entrance, and suddenly I do not need a loud trim screaming around every board in the room.
I printed mine big on the workroom copier, taped four sheets together, and laminated the seams so they would not peel in the doorway draft. It is the first thing a kid sees in August and the last thing a parent photographs at meet-the-teacher.
One honest gripe. The file is built for laser cutting, so the single-line look needs a heavy print to read from down the hall. My first pass came out thin and gray. I bumped it darker and ran it on cardstock and then it popped.
A word strip that does the job a border used to
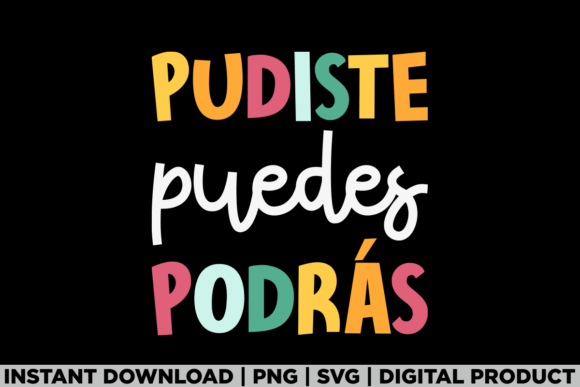
Instead of a decorative trim, I run a strip of meaningful words across the top of a board. This multilingual set gives me welcome words in more than one language, which matters in my room because half my class speaks Spanish at home and lights up when they see it on the wall.
I print the words on colored cardstock, trim close, and tape them in a line. It frames the board and teaches at the same time. A kid named Mateo read his home language off my wall in week one and stood a little taller.
The nitpick. The graphics lean bright and busy, so if you crowd too many words together it gets noisy fast. I learned to leave gaps. Three or four words across the top, not ten.
Letters as the border, not under it
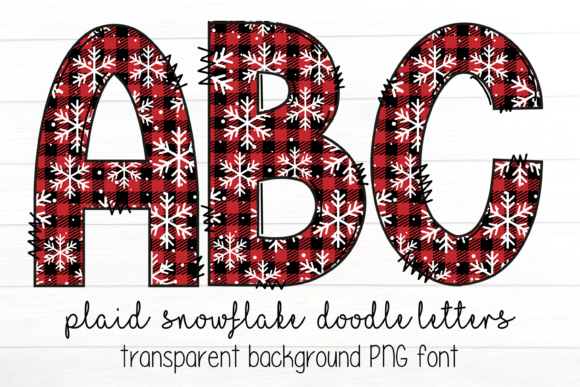
My favorite trick is making the title BE the border. This plaid snowflake alphabet gives me chunky doodle letters I can spell anything with, then run edge to edge so the words themselves frame the board. No scalloped trim required.
I saved this one for the stretch after winter break when the room feels gray and everyone is tired. Cozy plaid, little snowflakes, warm. I spelled out our reading goal across the top and it held until February.
The catch is print size. Shrink these letters too small and the plaid pattern turns to mush on the copier. I keep them big, at least a hand-width tall, and they stay crisp.
Edit it yourself when the prebuilt look fights you
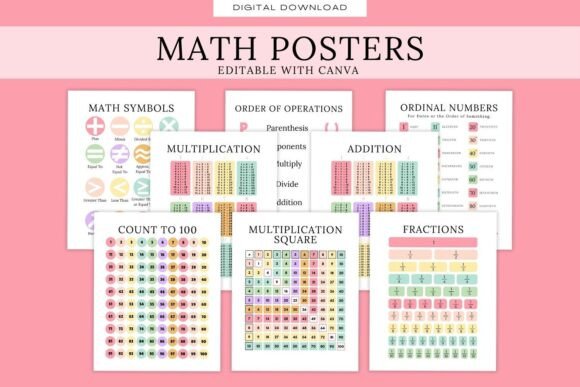
Sometimes I do not want someone else’s exact wording. This math poster set is a Canva template, so I can retype the strategy in my own words before I print and line a board with them. I tile small posters along the edge and the math wall frames itself.
I did this for our multiplication unit in third grade. Printed six small ones, ran them down the side of the board like a column. Kids referenced them mid-problem without me pointing.
The honest part. You need a Canva login to edit, and if you have never used it the first poster takes a while to figure out. After that they are fast. I just wish it printed clean without me nudging the margins each time.
Stamp your own trim, one little icon at a time
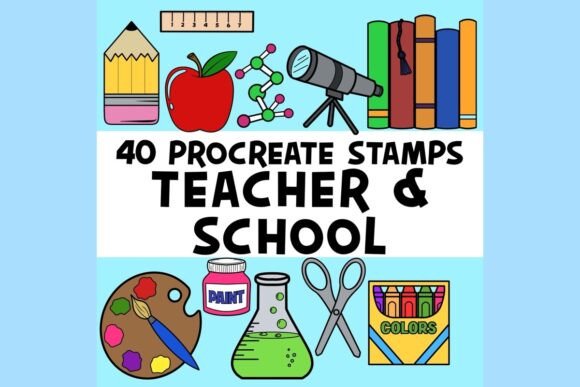
These are Procreate stamps, little school icons like pencils and apples and rulers. If you have an iPad you can stamp a repeating strip and print it as your own custom border. It is the closest thing to making trim from scratch without a die-cut machine.
I made a pencil-and-apple strip for my writing board and it felt like mine in a way a store roll never does. I printed it on a long sheet and taped it flat across the top.
The obvious limit. No iPad, no Procreate, no stamps. This one is only useful to a slice of teachers, and I almost left it off. But if you draw, it unlocks endless borders, so it earned its spot.
A whole themed board that needs no extra edge
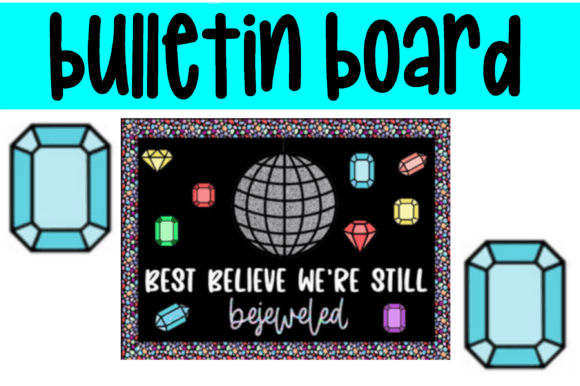
Some kits come so complete that the border question disappears. This music-themed bulletin board set fills the whole space with art that frames itself, so I do not staple a single inch of trim around it.
I hung this one in the fall when my fourth graders were deep in their music phase. The buzz when they walked in was real. A kid gasped. An actual gasp, over a bulletin board.
My gripe is theme shelf life. Kid trends move fast, and a board built around one moment can feel dated by spring. I treat it as a fall board, swap it out after winter break, and do not get attached.
Let the kids’ work become the border
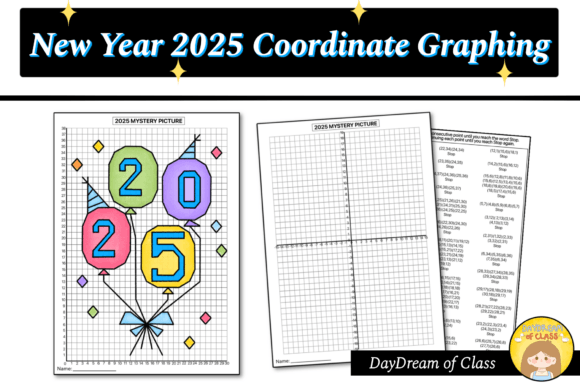
Here is a sneaky border alternative. Have the kids make the decoration. This New Year mystery picture has them graph coordinates and reveal an image, and the finished pages, pinned in a row, frame the board with student work instead of a trim roll.
I ran this the first week back in January when nobody, me included, wanted to do real math yet. They colored, they graphed, they did not notice they were practicing. Then twenty-five finished pictures went up around the board.
One snag. The reveal image is dated to a specific year, so it is a January-only thing and the artwork feels stale by February. I rotate it out fast, but the math underneath is reusable any year.
Goofy letters that earn their wall space
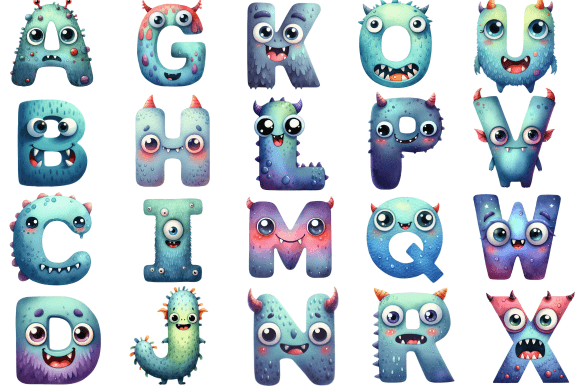
These monster alphabet letters are pure fun, and fun letters make a fine border. I spell a word across the top, or just run the alphabet itself along the edge of an early-literacy board so little kids can find their letters.
I used these in a kinder room I covered for a maternity leave. The kids named the monsters. The Q monster was Gerald. They talked to Gerald. The board became a character, not just a label.
The one real downside. Monsters are busy, so against a busy background they vanish. I learned to mat them on a plain dark sheet first, which costs an extra piece of cardstock per letter but makes them readable.
A craft that frames the board for you
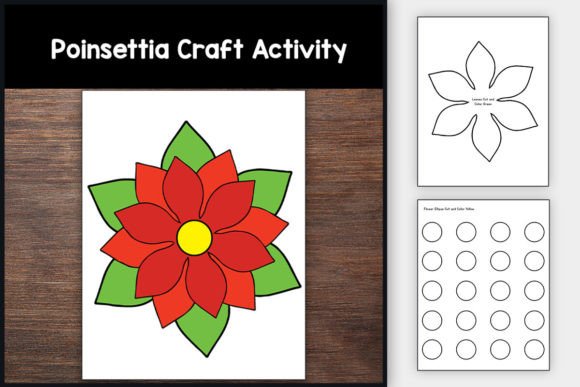
A craftivity does double duty. The kids build it, and the finished pieces become the decoration. This poinsettia craft gives me a stack of bright red flowers that, pinned in a border around a winter board, do the trim job and the lesson job at once.
I did these the gray week in December when the holiday party energy was unbearable. Cutting and gluing poinsettias bought me twenty quiet minutes and a wall of student-made flowers.
The honest catch. It is a lot of cutting for little hands, and a few of mine ended up as red confetti on the floor. I prep-cut the trickiest pieces ahead now and it goes smoother.
Writing that lines the board in October
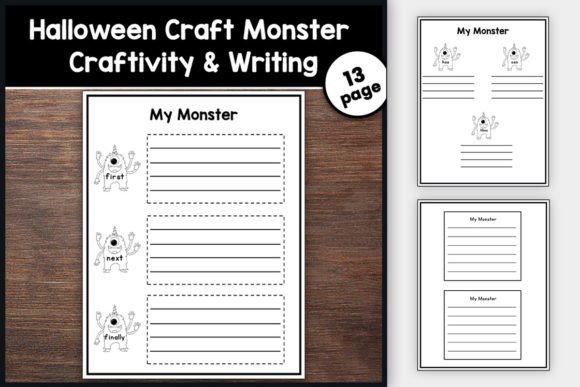
This monster craft pairs with a writing prompt, so the kids build a little monster and write about it. Pin the monsters and their paragraphs around a board and you have an October border made entirely of student work and student writing.
I ran this during the October slump, that stretch where the new-year shine has worn off and Halloween is making everyone feral. The writing got them focused. The monsters got them excited. Both went on the wall.
The nitpick is the cutting again. Monster legs are fiddly, and I had a kid in tears over a torn arm. Tape fixes a torn arm. I keep tape close during any craft now.
The all-in-one kit for when you have no time
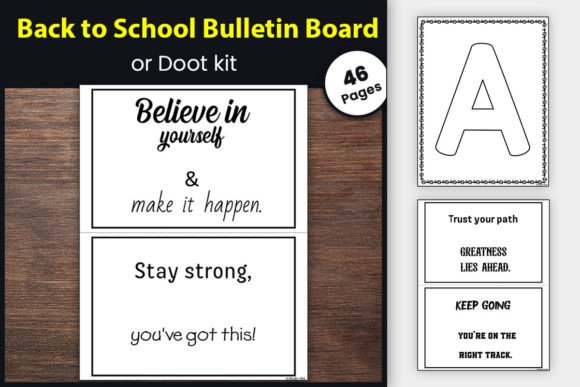
Some Augusts I have zero minutes, and that is when I reach for a kit like this. Bulletin board and door pieces in one matching set, so the whole front of my room coordinates without me sourcing a border separately.
I bought this the year I moved classrooms two days before the kids came. Printed the kit, hung it, done in an afternoon. It looked like I had planned for weeks. I had not.
The trade-off with any kit. Lots of teachers buy the same one, so you might match the room next door. I do not love that, but for a year I was drowning in moving boxes, matching the neighbor was a fine price to pay.
Edit a sports theme to wrap your whole wall
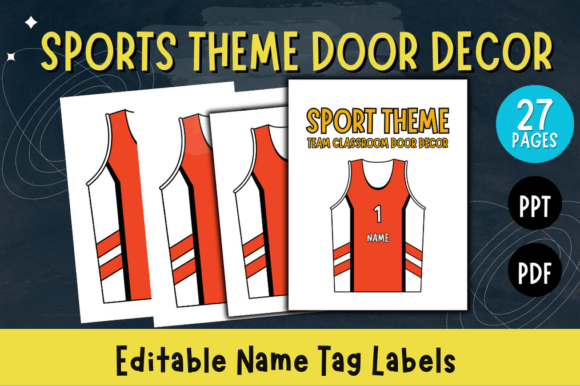
This sports door decor comes as an editable slide template, so I can retype names or our class goal before printing and run the pieces along a board edge instead of buying trim. The theme carries the whole look.
I used a sports angle the year my class was wild about field day. Printed the banner pieces, lined the top of our goals board, and the kids treated it like a scoreboard for the room.
The limit. It opens in slide software, and if your pieces print across two pages you have to tape seams, which never quite lines up perfectly. I trim the white margins before taping and it gets close enough.
One big focal piece so the edges can stay bare
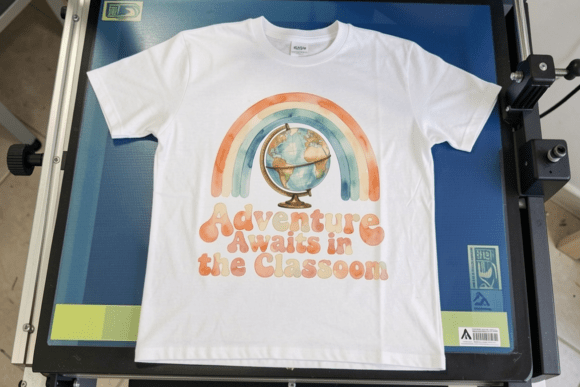
Not every board needs a busy edge. This rainbow globe art gives me one cheerful focal piece, and when the center is strong the border can just disappear. I tape the globe in the middle and leave the trim drawer closed.
I hung this in my reading corner the spring my class was deep in a unit about other countries. It tied the corner together and the kids voted it the best wall, which is a real election we hold and take seriously.
The one gripe. Printed small it loses the rainbow detail and just reads as a blob. I went big, taped four sheets, and laminated it so the corner draft would not curl it.
The piece that makes the room feel like yours

This back to school set has the little extras that personalize a room, the kind of pieces I tuck into a board so it reads as mine and not a template. A few of these along a board edge work as a soft border with personality.
I added these the August I felt like an impostor moving into a veteran teacher’s old room. Hanging a couple of personal pieces made the space mine. Small thing, big difference on the first morning.
The honest note. These are PNG pieces, so you place and resize each one yourself instead of printing one neat sheet. It takes a few extra minutes of fiddling, but you get exactly the layout you want.
Frequently Asked Questions
how to make bulletin board letters
The way I do it now is the lazy way, and I mean that as a compliment. I buy a printable alphabet file from an indie design shop, print the letters big on cardstock, and cut them out. No die-cut machine, no tracing stencils at 9pm.
If I want them sturdier I laminate before cutting, which gives a clean edge and lets me reuse them next year. A paper trimmer makes the straight cuts fast. For curvy doodle letters I just go slow with scissors and accept that they will be a little imperfect. Kids never notice.
where to buy bulletin board letters
You can grab the punch-out kind at any teacher store, and they are fine, but they all look the same and a set runs out fast. I lean digital now. The printable alphabet files in this list are a few dollars, you own them forever, and you can print the same letters again when one gets ripped.
The upside of digital is matching. I can find letters that fit my exact theme, plaid for winter, monsters for a fun board, instead of settling for whatever color the store had left.
what is classroom bulletin board
It is the stretch of cork or fabric on a classroom wall where I hang student work, the schedule, the word wall, or just something seasonal to make the room feel alive. Some of mine teach, some just cheer the place up.
The thing I wish someone told me first year is that it does not need to be perfect or store-bought. A board with a kid’s wobbly drawing on it beats a flawless one nobody touches. It is a working wall, not a museum piece.
where to buy bulletin board borders
The teacher store sells the scalloped rolls, and that is the default everyone reaches for. I stopped, because they sag and I kept buying replacements. This whole list is my answer instead. Printed letter strips, clipart, student craftivities, themed kits, all of them framing a board without a roll of trim around it.
If you do want the classic look, you can still print a border strip from a digital file and tape it flat, which holds better than the stapled rolls ever did for me. Cheaper too, once you stop rebuying.
If you take one thing from all this, let it be that the edge of your board does not need a special roll from the teacher store. Letters can be the border. Kid art can be the border. A strong piece in the middle means there is no border at all. You have more options than that sad drawer of curled scalloped trim, I promise.
So print something flat this August, tape it up, and do not panic when a corner gives up by October. Print a new one. That is the whole trick, and it has saved me more time and budget than any roll ever did. Go easy on yourself this back to school, friend. The room will come together.